This guide provides quick instructions so you can add or remove a table header row in a Microsoft Excel table.
You may be running into an situation where you KNOW there’s probably a super simple solution to add or remove a header row, but just don’t know exactly where to look or what to use in Excel to get the header row options to appear.
For example, you’ve added a table in Excel that’s 7 across and 10 down. However, it’s automatically adding the header row and you don’t want it to appear anymore no matter what you do.
Continue with the guide below to add or remove a header row from your table in Microsoft Excel.
Add or remove a table header row – Simple steps
- Open the Excel file on your computer that contains the headers.
- Click anywhere within the table.
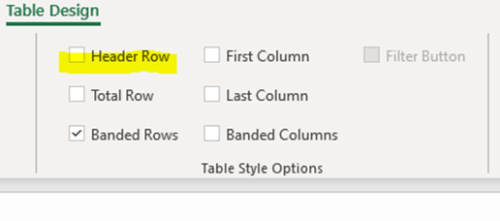
- Click the Table Design option that now appears in the top menu.
- Check the checkbox for Header Row to include a header row, or clear the checkbox to remove the header row.
- Look at your table – the header row is now gone or one has been added! You can toggle between the options
Add or remove header row – Guide with images
1) Open the Excel file on your computer that has the table.
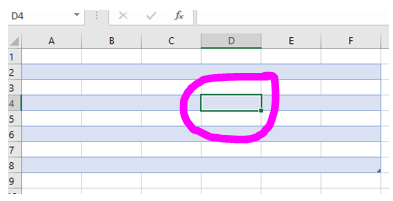
2) Click anywhere within the table.

4) Check the checkbox for Header Row to include a header row, or clear the checkbox to remove the header row.
5) Look at your table – the header row is now gone or one has been added! You can toggle between options with each click.

